Sorry.
Let's rectify that sitch, post-haste.
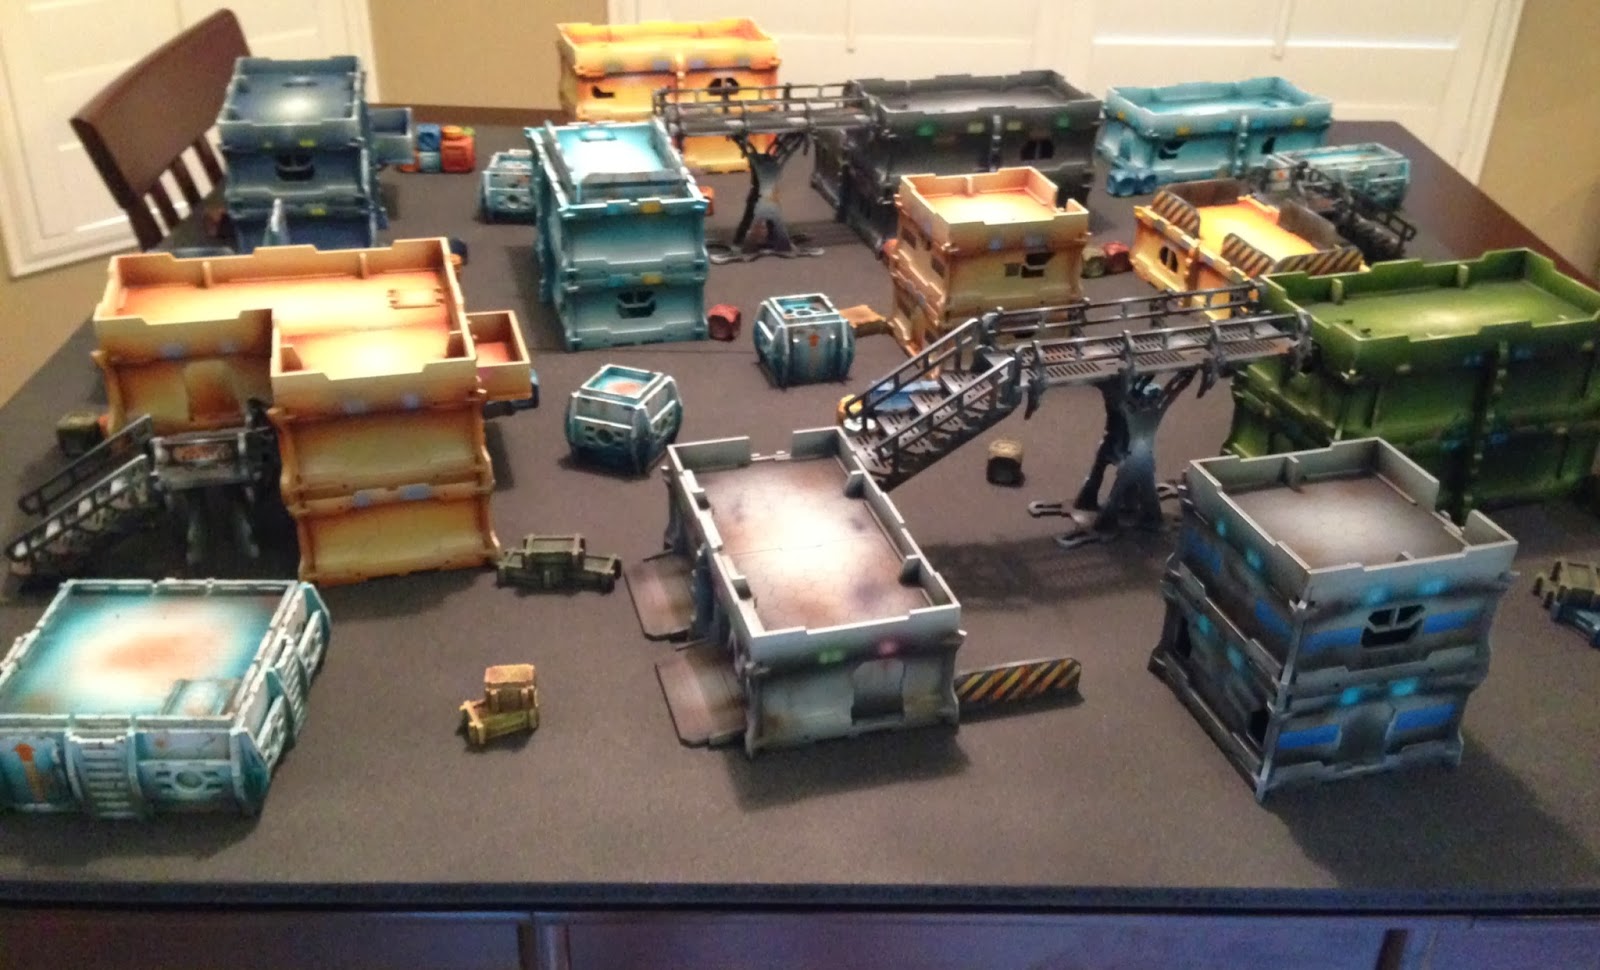
So, with all that terrain I built and painted to prep for the Con, I needed a table of my own to use them on. Instead of a purpose-made game table, I opted for a much more portable table TOP; a 4'x4' surface that can be placed atop any flat surface (such as the dining room table, a card table, the breakfast nook table (which is what *I* use it for...)).
Home Depot (or maybe it was Lowe's... any DIY store) had 1/2" thick chipboard in 2'x4' sheets. That would be perfect - easy to carry and store, two next to each other make a perfect 4'x4' board. I didn't want them shifting during game play, so I inserted some leftover Ikea furniture dowels into one side, and corresponding holes into the other half of the board to keep things together during the game.
 |
| Measure twice, drill once... |
Step one was to prime both sides of the chipboard (to help against warping) with black primer. I used household interior/exterior latex primer.

Since this was going on top of the breakfast table, which is a bar-height piece of furniture my wife is WAY more fond of than she is of game tables, I helped out by outfitting the bottom of the sections with padded feet so that they would not damage any surface they are put on. These self-adhesive, padded feet are sold for people who want to easily move their heavy furniture around hardwood floors, and are found at any hardware store or Target/WalMart-type store.

To finish the playing surface, I chose a time-efficient and aesthetically pleasing Easy Button - Rust-oleum Textured Spray Paint, Aged Iron.

I thought, once sprayed, it would look a whole lot like asphalt, so once I plopped all the buildings down on it, it would look like the streets. It looked even better than I imagined.

As I applied multiple coats, I noticed that as my spray lingered in an area, it would gradulally become lighter in color, allowing a subtle variation in tone across the entire board. I sealed the textured spray paint with several coats of matte spray varnish.


Nice job on the table Tom.
ReplyDeleteDon't worry, people pay attention. I have been a fan of your work since your Golden Demon days.
Keep the updates, especially the painting, going.
Nice work on the table and the buildings, thanks for the tip on the lightening of the color - wouldn't think that would work like that.
ReplyDeleteLooking good Tom!
ReplyDeleteI must be the 4th follower then! Do we have a name for our group? Glad to see updates again Mr. Schadle!
ReplyDeleteHella nice table Tom.
ReplyDeleteI definitely like the texture. What brand matte seal? 1311?
ReplyDeleteOf course! ;)
DeleteThanks for the idea on the Aged Iron spray, it's absolutely fantastic! Worked better than I expected, and especially after I mucked up a board, oddly enough. Built a small deadzone 2'x2' table out of MDF using mdf with 1/8" mdf glued on top, cutting out some sections to remain roads (the 1/8" mdf makes easy curbs/sidewalks). Unfortunately I sprayed the Aged Iron too heavily in the main area of a road T-section and it caused runs which I promptly made worse by trying to "fix" wet paint. So I let id dry overnight and went to sand it smooth and start over, but in doing so it just got BETTER!
ReplyDeleteThe textured spray dries thick and dries HARD! Hard enough I couldn't sand it off completely with 60 grit paper and a sanding block! As I sanded, it evened out the texture a bit and made it look even MORE like a paved roadway! The speckles of different colored paint go all the way through the paint layer and still look like asphalt aggregate when sanded down. Plus it took off the slight sheen in the finish, it's now deadpan flat. With how hard it dried and with the color going all the way through I wouldn't even bother sealing it even for heavy game-club use.
Inspired, I spent extra time sanding it even smoother (wasn't easy without a palm sander!) and I'm now planning to spray another textured coat which I'll then mask and spray some lane divider & crosswalk lines, let it dry overnight again, and then sand the texture down again for what should be an extremly realistic weathered road bed. Based on how I've seen the texture sand down, that should look better than trying to "fake" the weathering by drybrushing grey on top of it!