The package arrived today, And after divvying up the pile into "Mine" and "Kip's," I put up the card table in the living room and set about assembling one of each of the different packs. I was a bit worried at first at the lack of instructions, but the kits are very intuitive, and go together really easily, with just a few glances at the pics they have on Facebook and their eBay store to answer any questions I had.
Each kit comes shrink-wrapped like this:

Laser cut into MDF (or HDF... I dunno, compressed wood stuff), very efficiently using all the space available. Mmm... that wonderful wood-burning smell...
I started with the ammo crates. You get 20 of these suckers for something like $12, on a single sheet of MDF - Kip and I split the pack. Scatter terrain is so essential for providing cover, especially in Infinity.
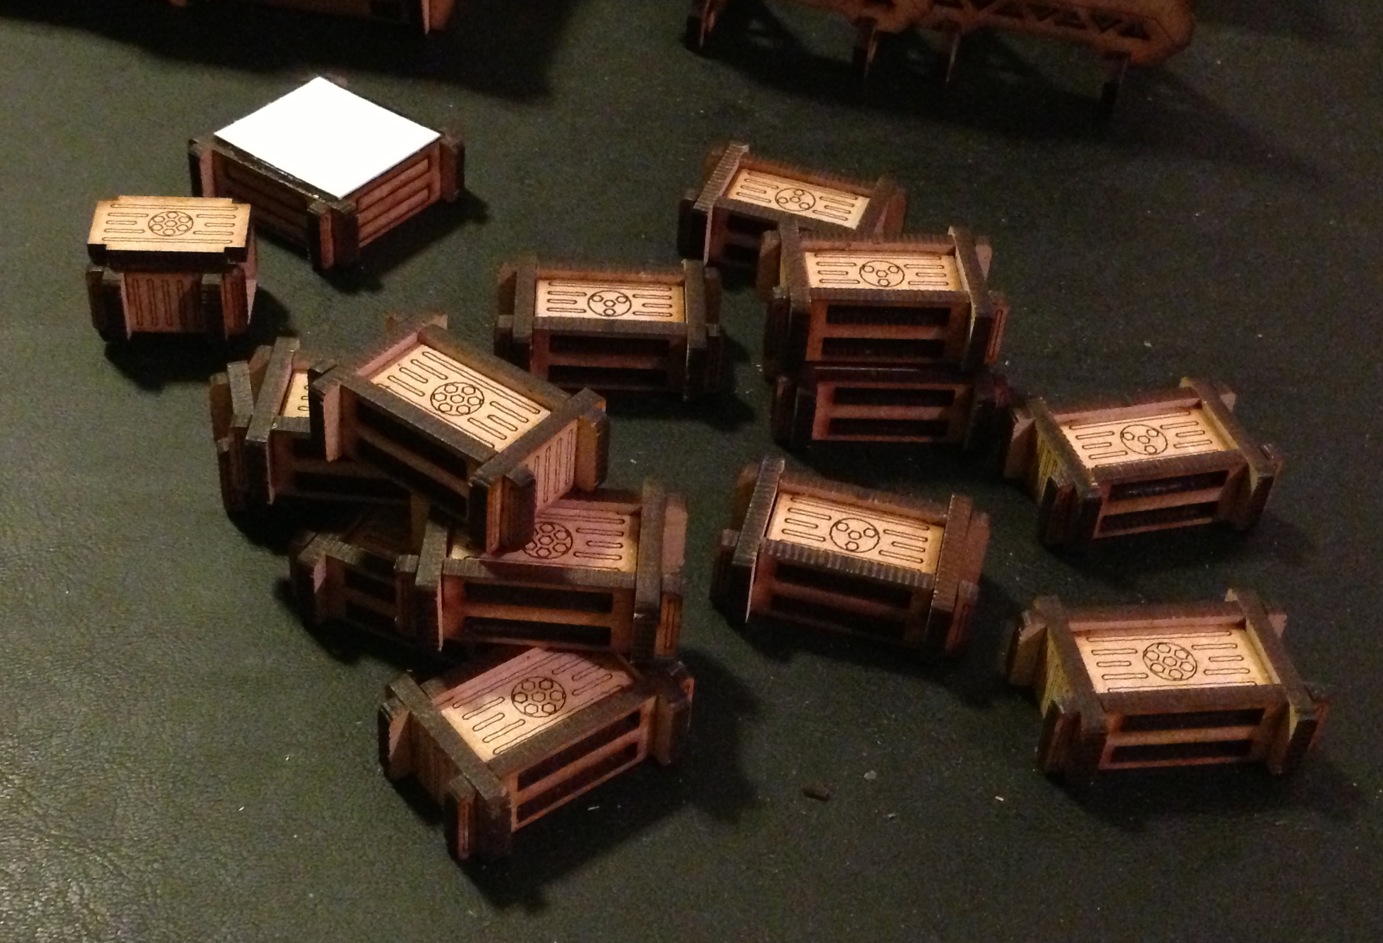
Ooo! Conversions! I used four short sides to make the stubby crate in the back left, and four long sides (with some plastic card) to make the wide box behind it.
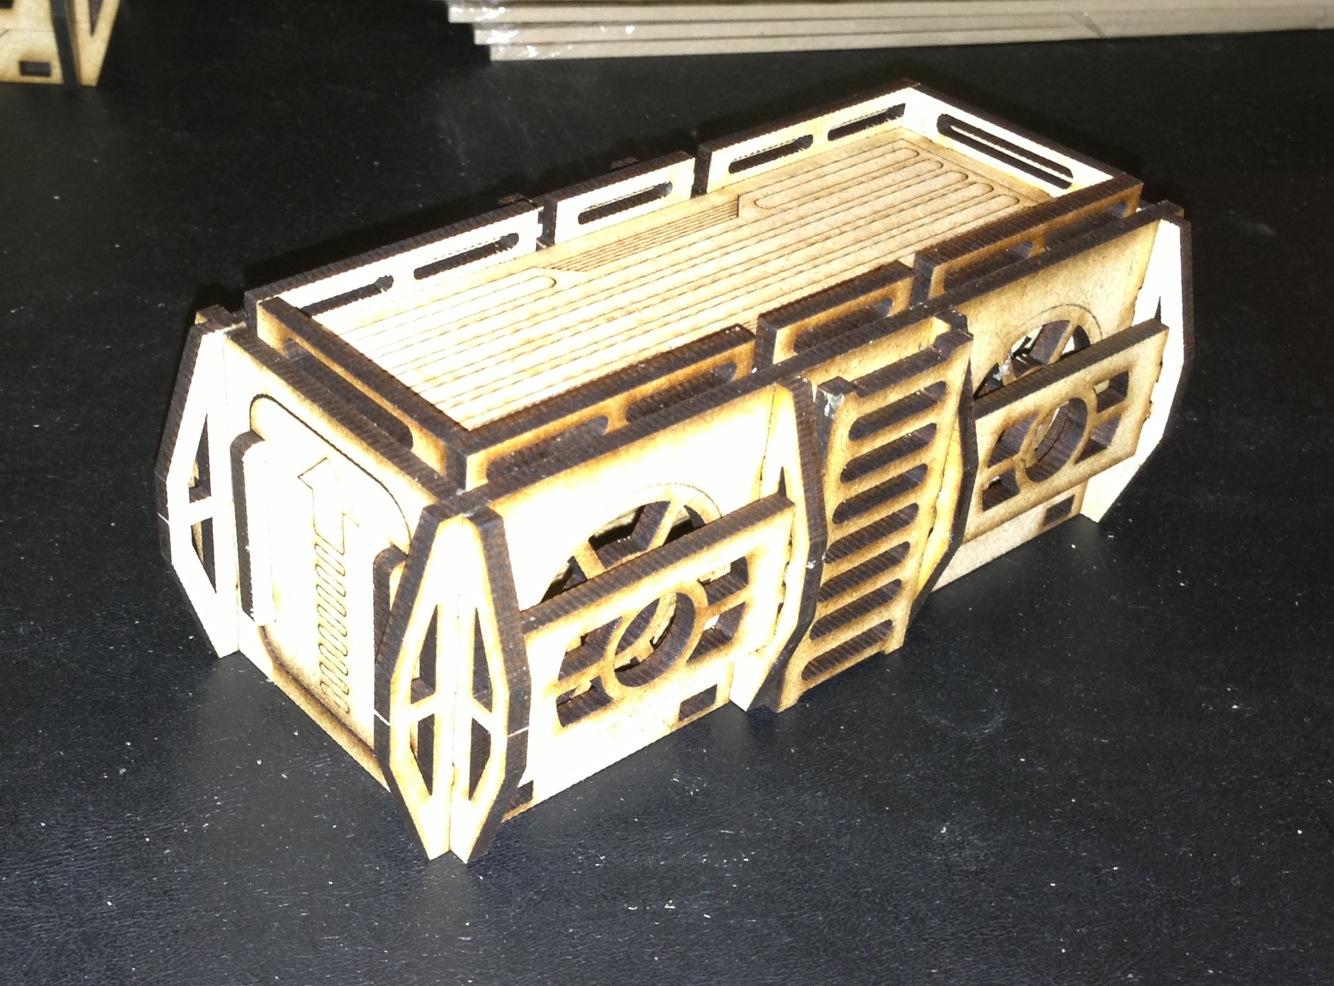
Going up a size larger, I assembled the Cargo Cubes (Or Shipping Cubes - on eBay, they use different names sometimes). The door friction-fits into its frame, and its side borders make removing it easy. The ingenious lipped roof allows you to stack multiple cubes atop each other.


You can see that all those TIE-Fighter windshields punch out, so if you're inside the crate you can shoot out. They're cut all the way through, but on the third cube I built, I painted some white glue onto the back side (what becomes the interior of the cube) to make sure they didn't pop out. Any pieces that were loose to begin with got some super glue, just to be sure. So you can have completely solid container walls, if you wish.
I thought about leaving those rectangular struts in front of each window off, but as it turns out, that's where the bridges latch onto, so they're pretty necessary.
Moving on up, next was the Long Container (or Shipping Container).

Same ingenious roof and under-floor design that allows you to stack multiple atop one another - and a removable roof so that you can move figures around inside. Sci-Fi trailer park in the making!
Speaking of trailers, it's time for the Double Wide! The Wide Container is labelled Ground Floor on the product itself. It's a cool, square, sic-fi building, and I'll need to collect more than the two I initially purchased.


It has all the features I've come to expect - stackable, removable roof, easy, intuitive assembly. Notice not only does the roof have a removable access hatch (it can be replaced with an included ladder), but there's one in the floor as well. So when you stack them, you have an access point between levels.
That's as big as it gets so far. After all, they don't even officially open their web store until September! But, there are still "accessories." First one I put together is their billboard with their company logo.


The feet are notched, so that they fit atop any of the 3 main structures. They sent us a 6-pack, and while Kip and I will each keep one for our collection (and continued advertising every game we play), the other four will be given out at the end of the tournament. During the tournament, those six billboards will let everyone know where the awesome terrain they're playing on is from!
Next is the Radar Tower (on the packaging, "Radar Dish"). This is a massive array that fits atop (and comes with) one of the Cargo Cubes. While most of the buildings will stay together without glue (although I used white glue on every joint), this one ought to be glued together.
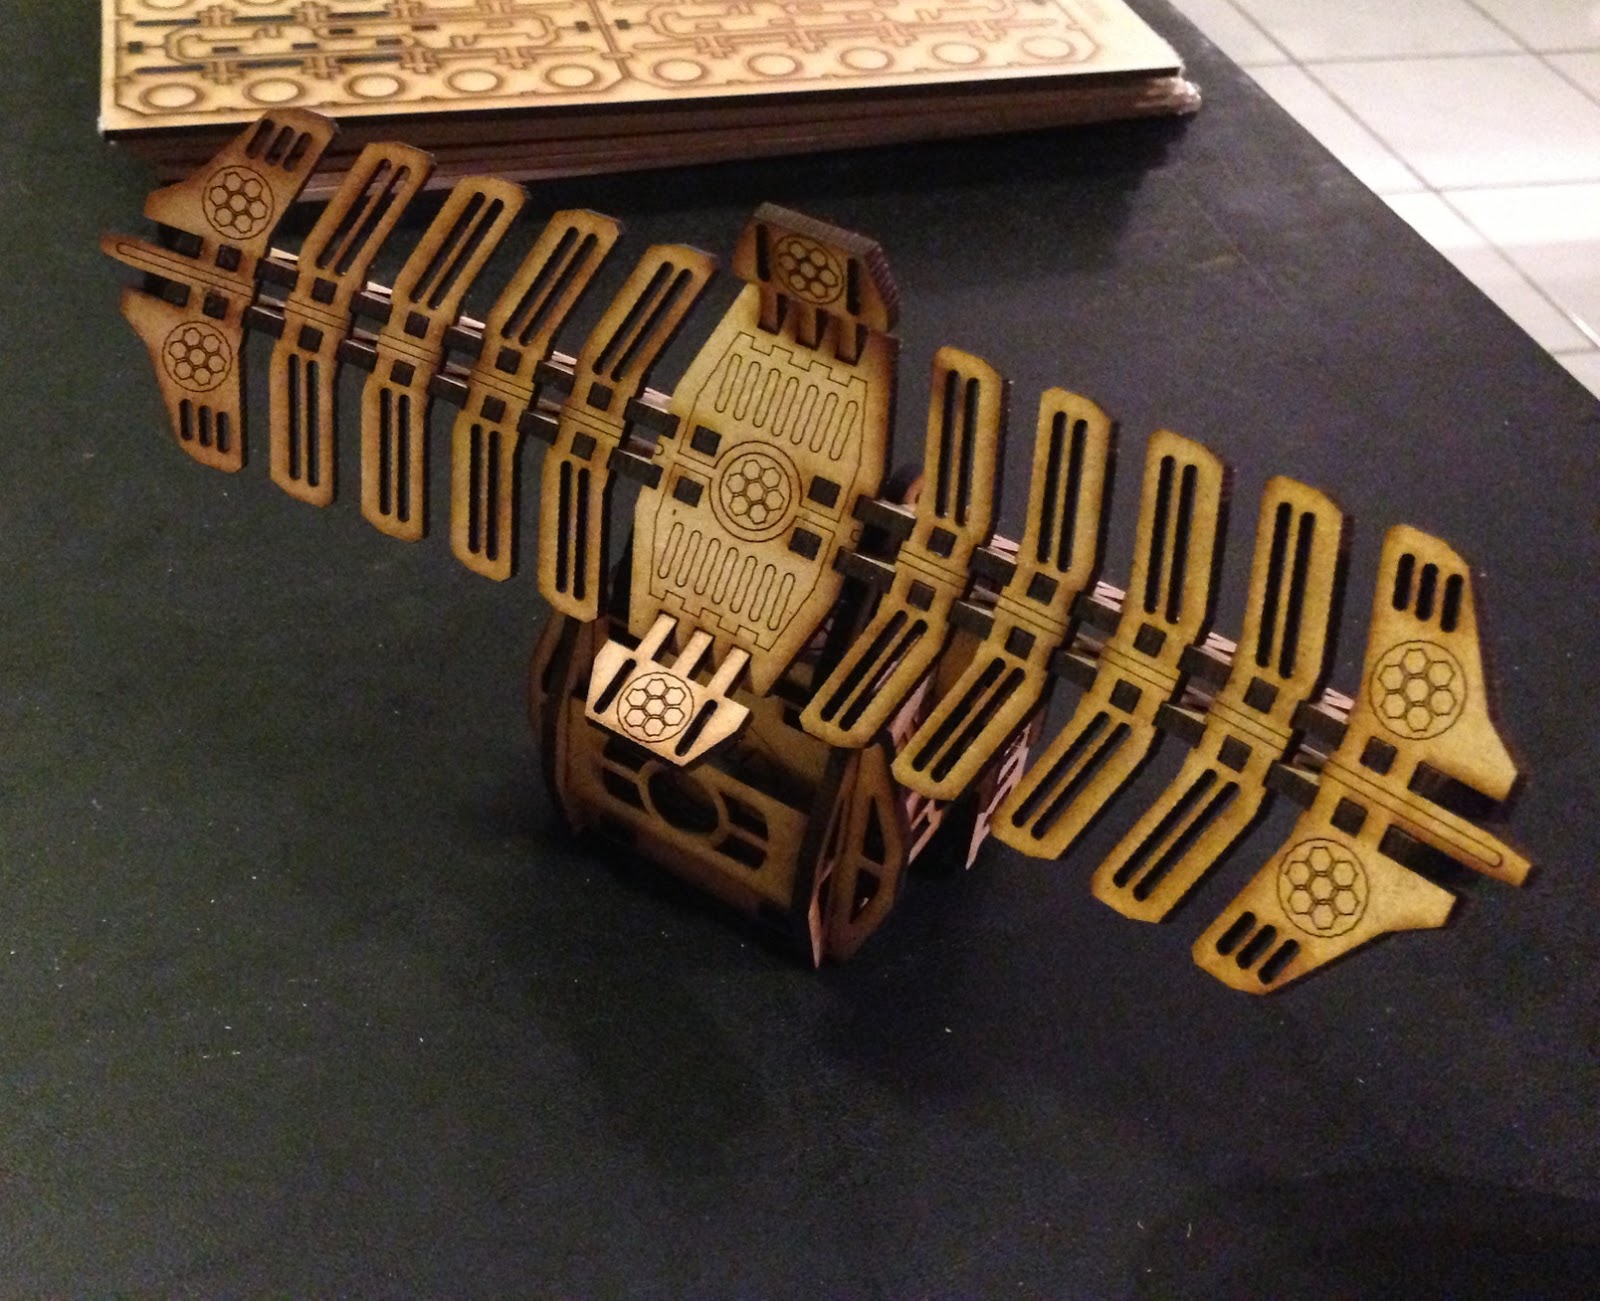

Lastly are the Bridges or Walkways. They come 2 to a pack, and contain enough components that they can be assembled with or without the included ladders along their length.

These bridges connect Cubes to Containers to Buildings and so on, using those rectangular support struts that are suspended in front of each TIE-Fighter cockpit window, and make everything blend together seamlessly.


After I build the rest, I'll attack these with the Airbrush. I haven't seen a painted example of these yet, but I plan to go hard Sci-Fi with pale gray walls. Nothing super fancy, but excited to have a go all the same. Maybe some cool light effects on the giant radar dish using my new Minitaire Ghost Tints, just for fun...
How long did it take u to assemble all of that?
ReplyDeleteAbout 4 hours, I guess. I sort of worked on it while I puttered around the house, made dinner, pet the dogs, etc between 6 and 11. So somewhere between 3 and 4 hours.
ReplyDelete