Showing posts with label Studio. Show all posts

July 11, 2013

Welcome to my Studio

One of the spare bedrooms is used as my painting studio. I painted it in Midnight Green (Fly, Eagles, Fly), but just along the bottom. The majority is pale grey so that it has a lot of light for painting. I installed some laminate flooring as well, which is much more forgiving of paint and water spills than carpet, and it allows me to easily find dropped bits of minis - something that would take me ages to find in carpeting. It was always quicker to just grab a new space marine head than try and paw through the berber for one I had dropped!

Here's a little tour of the space, starting to the right as you enter through the door.


There's the display cabinet, full of painted miniatures. The shelving hidden in the bottom half holds some supplies, but mostly it is primed models awaiting paint.


Next to that is a music stand that holds all my reference material. Recipe books, concept art, reference pictures - anything I need to... well, reference while I work. It sits just to my right as I sit in my painting chair - which brings us to:


The painting desk! Paint racks hold my variety of paints. You can see I re-bottle most of them - the P3 and the GW - into dropper bottles. You'll also see that the ones I use the most, the P3 Paints, are front and center, easy to hand. Two water jars - one for rinsing the brush or normal paint, the other for metallic paint only. Rinse in the same jar, you're liable to get those metallic flakes in your normal paint. And I don't know what I'd do without my Ott-Lites.

Boba Fett?!? Boba Fett?!? Where?!?

Directly to the left of that is my build desk:


I like having the separate area for building, so I don't have to worry about getting plastic shavings and metal filings in my paints. Bookshelf extenders make great table-top shelving for the tiny stuff we work with. These, and the two desks, are from Ikea. There are more bookshelf extenders on the floor, one under the paint desk, one next to the build desk, to keep even more items easily accessible and organized.
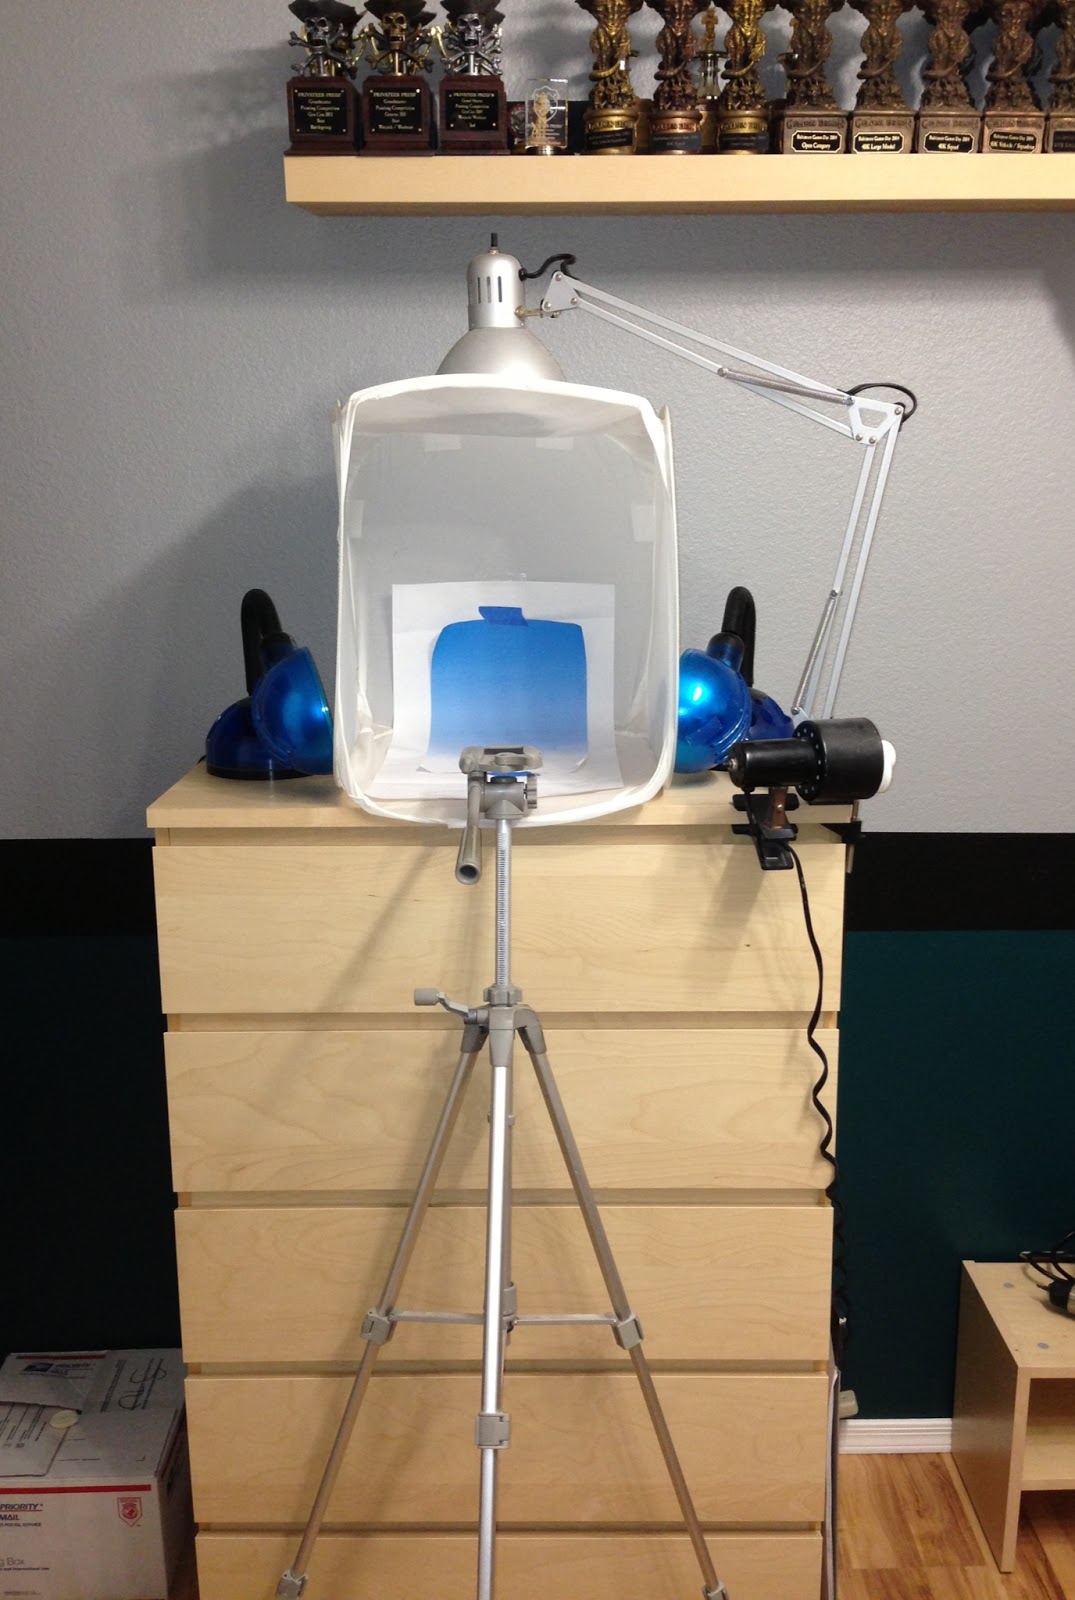

On the next wall is a dresser unit that stores a bunch of raw materials, half-built kits, spray paints, and a metric butt-ton of dice. On top of this I am able to have my photo booth perpetually set up. The tripod folds up and stores easily in the closet when not in use. Note the four light sources for photography - one above, one from either side, and then a hand-held one (the black clip-on) that I point in from the front. All inside a white light cube that bounces all that light around nicely. Daylight-type, or "Reveal" bulbs work great. Avoid yellow lights like "soft white," or the greenish tinge of awful fluorescents.
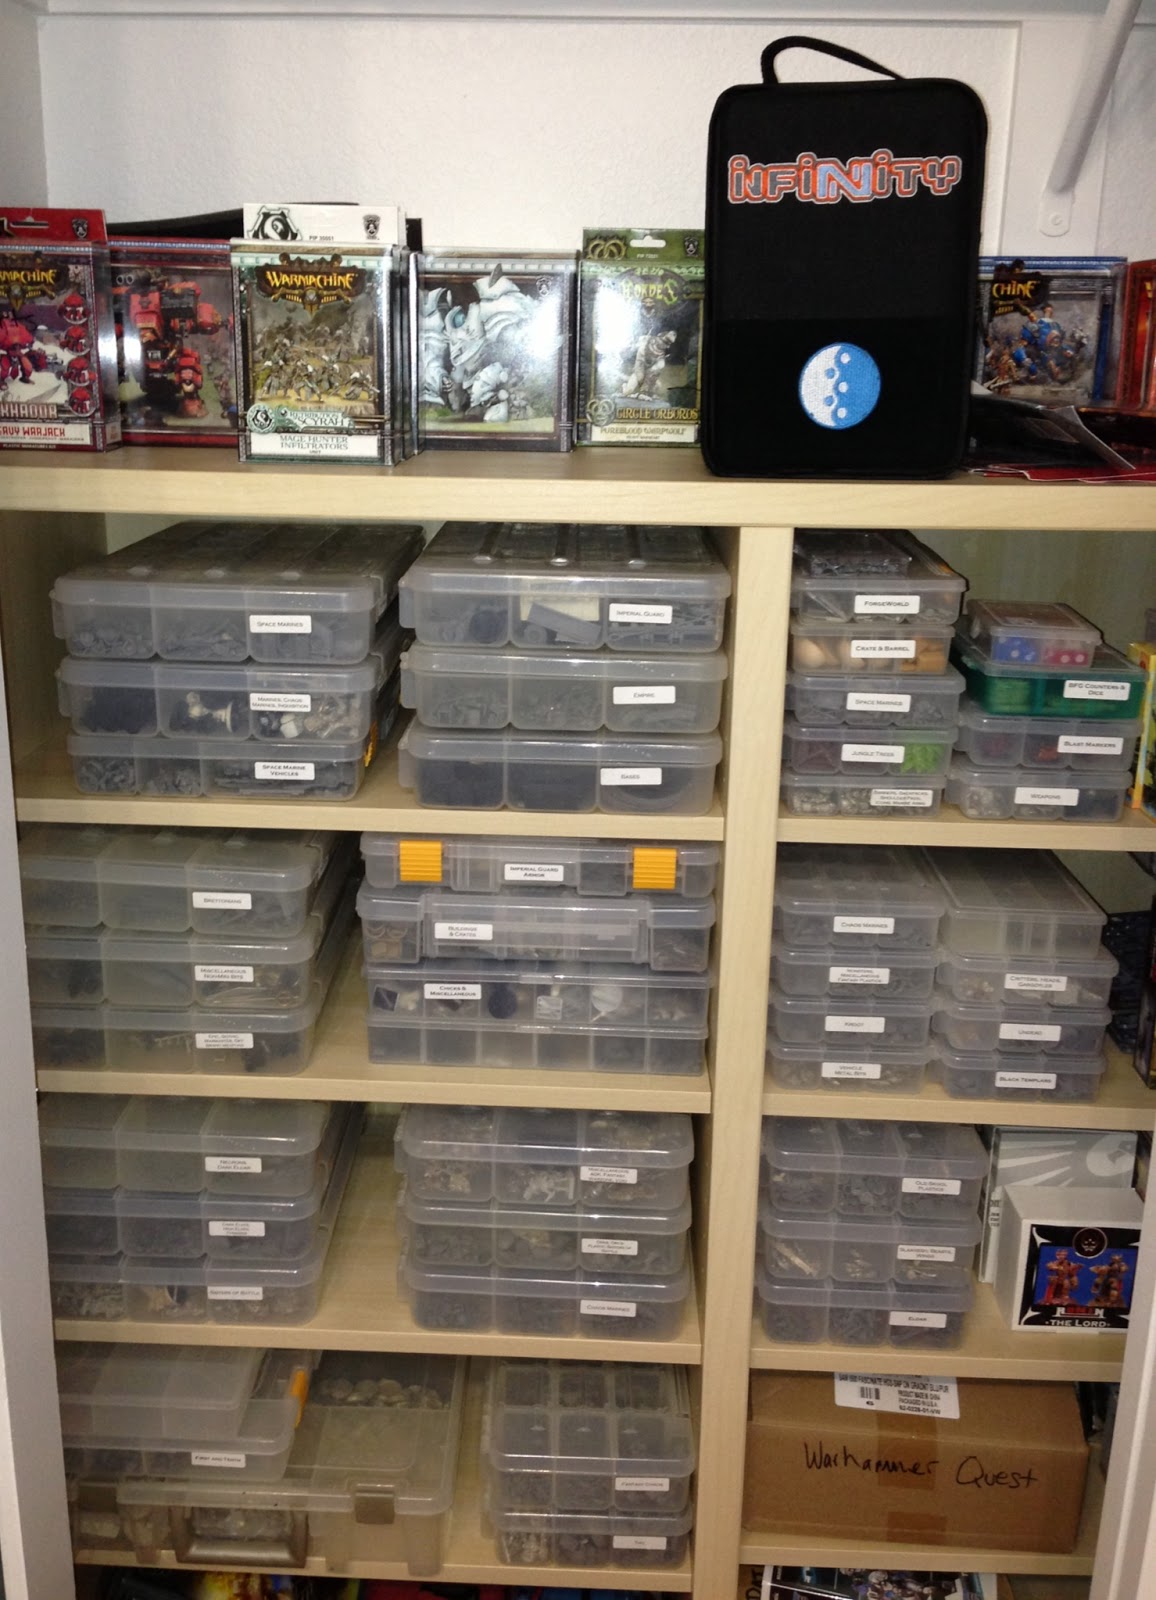

Then the final wall, the closet (when we walked in, this is to the left in line with the doorway). I've rigged the inside of the closet with a pegboard to house the racks of unpainted blisters, while the left side holds shelving that racks my storage bins of sorted and organized un-sprued "Bitz." Above these photos are shelves that store trays and trays of Battle Foam, and all the junk that didn't fit elsewhere.

Thank you for joining me on this episode of MTV's Nerd Cribs! 


June 17, 2013

Technique Tuesday!

Maybe that will become a thing, maybe not. We'll see. But it is pleasingly alliterative^.

At the very least, "Technique" will become a searchable tag, or label, so that finding any painting techniques that I share should be a reasonably easy affair.

The first installment may not be all that edifying; but I realize that the way I will be sharing paint recipes might require some explanation.

First, Paint Brands!

I will frequently abbreviate them, so this will serve as the "Master Key" to deciphering the acronyms:

  • GW - Games Workshop* Citadel Colour
  • P3 - Privateer Press Formula P3 Paints
  • RMS - Reaper Masters Series
  • RPP - Reaper Pro Paints**
  • VGC - Vallejo Game Colour
  • VMC - Vallejo Model Colour
*These will most likely be the old colors that lasted some 20-30 years before somebody with a "great idea" changed the whole line. And that dude is a douchebag.

** It could happen...

Those are what I use most commonly. I use bits and pieces from other brands as well, but I'll let you know. But I do use those abbreviations quite a bit.

Use whatever will get the job done! From left to right:
Liquitex Ink, Tamiya Acrylic, Citadel Colour Ink (circa I'm old), Citadel Colour Paint, Privateer Press Formula P3 Paint, Reaper Masters Series Liner, Vallejo Game Colour, Vallejo Model Colour, Golden Artist Fluid Acrylic, Badger Minitaire Ghost Tint


Another "abbreviation" that I will use frequently is this double arrow thingy: <>

When I put that down, it essentially means to mix those two paints in increasing increments to build up highlights or shadow, until you've reached the second color in its pure, unmixed form.

So, for example, if it said "P3 Exile Blue <> P3 Frostbite," that would mean to add Frostbite to the Exile bit by bit until you've reached pure Frostbite.

How much depends on each individual person, and what they are comfortable with.  The smaller the change in value between one tone and the next, the easier it is to blend.  So for some people, they may find it easiest using 12 steps between Exile and Frostbite to get a smooth blend, while others may manage with just 3 steps.  Since it varies from painter to painter, I use the <>.

The Paint Desk, after a weekend project, so kinda all over the place.

So perhaps not much "Technique" this Tuesday, but a foundation anyway for how I will be presenting it. 

^(Other alliterative days I'm mulling include Miscellaneous Monday, Warmachine Wednesday, Recipe Thursday (just go with it), and Infinity Friday (kinda).  We'll see.  Probably not.)